RPi PilotPi Shield
Note: you should have a Raspberry Pi ,the package does not include Raspberry Pi. 3B+/4B is recommended.Please ensure that you have experience using Raspberry Pi and have enough patience to study .
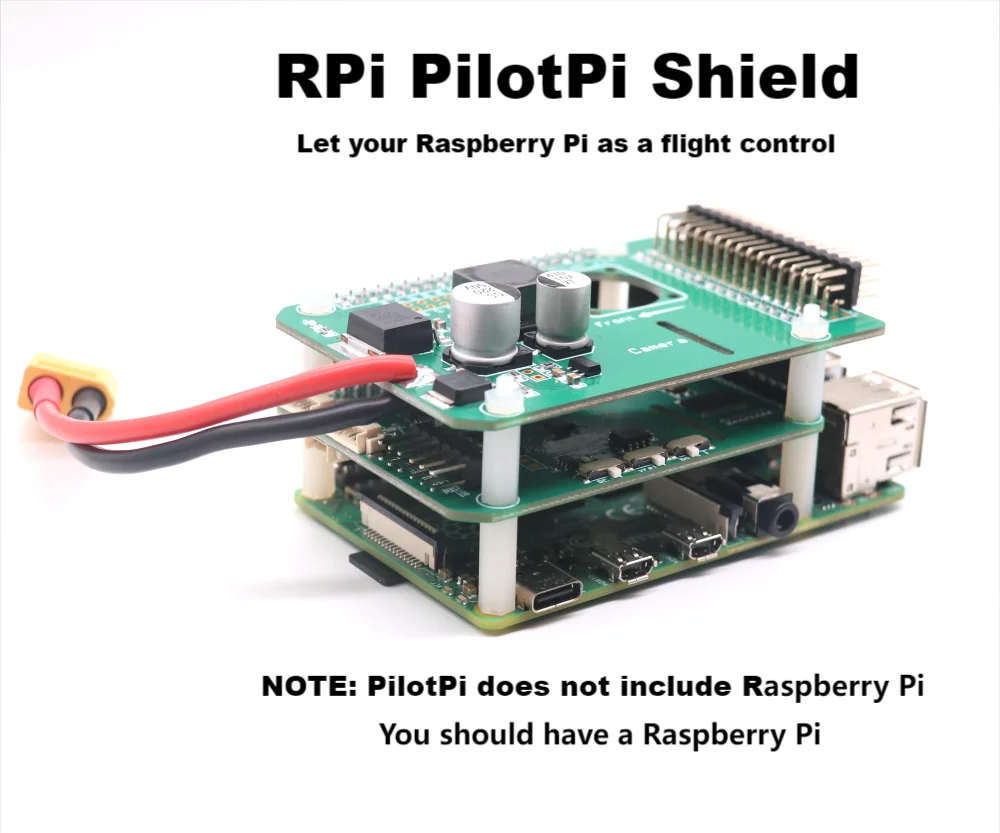
Let your Raspberry Pi as a flight control is a very interesting thing.
The PilotPi shield is a fully functional solution to run PX4 autopilot directly on Raspberry Pi. It is designed to be a low-cost but highly scalability platform with continuous updates from both Linux and PX4 sides. No proprietary driver is required, as all components have upstream support from RPi and PX4 community. PCB and schematic are open source as well.
#Quick Summary
Supported RPi boards:
Raspberry Pi 2B/3B/3B+/4B
Supported OS:
Raspberry Pi OS
Ubuntu Server (armhf/arm64)
Accelerometer / Gyro:
ICM42688P
Magnetometer:
IST8310
Barometer:
MS5611
PWM:
PCA9685
ADC:
ADS1115
Power:
3~6S battery with built-in voltage sensing.
Power the Pi through USB cable
Availability: preparing for shipping
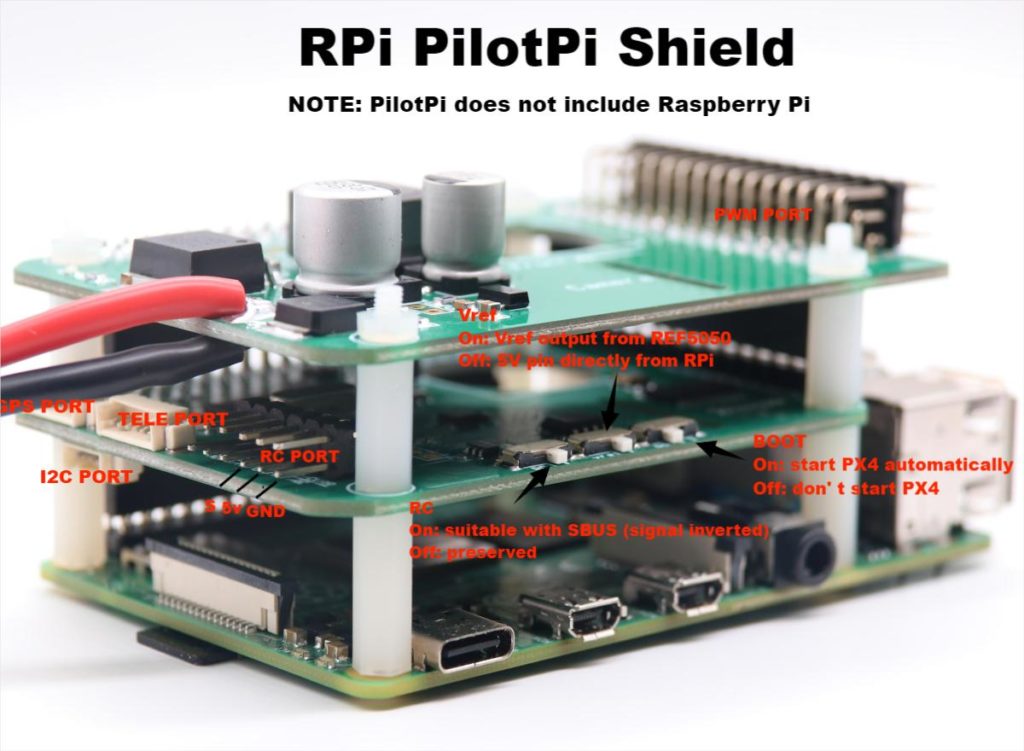
#Connectivity
Shield provides:
16x PWM outputting channels
GPS connector
Telemetry connector
External I2C bus connector (Note: conflicts with CSI camera)
RC input port (SBUS)
3x ADC channels range 0~5V
2*8 2.54mm unused GPIO connector
Direct accessible from RPi:
4x USB connector
CSI connector(Note: conflict with external I2C bus)
etc.
RPi PilotPi Shield instructions:https://docs.px4.io/main/en/flight_controller/raspberry_pi_pilotpi.html
How to make PilotPi OS:https://docs.px4.io/main/en/flight_controller/raspberry_pi_pilotpi_rpios.html
Please read the above tutorial before purchasing. If you want to create your own image ,need to compile PX4 firmware, it will be quite complex. To solve this problem, we have created an image that you can download and use it directly, eliminating the hassle of creating an image and compiling firmware.
Download the iamge from here,https://drive.google.com/file/d/1JSjTjCFAQcwFuCB6hoDLmdelJ5WK9WR5/view?usp=sharing
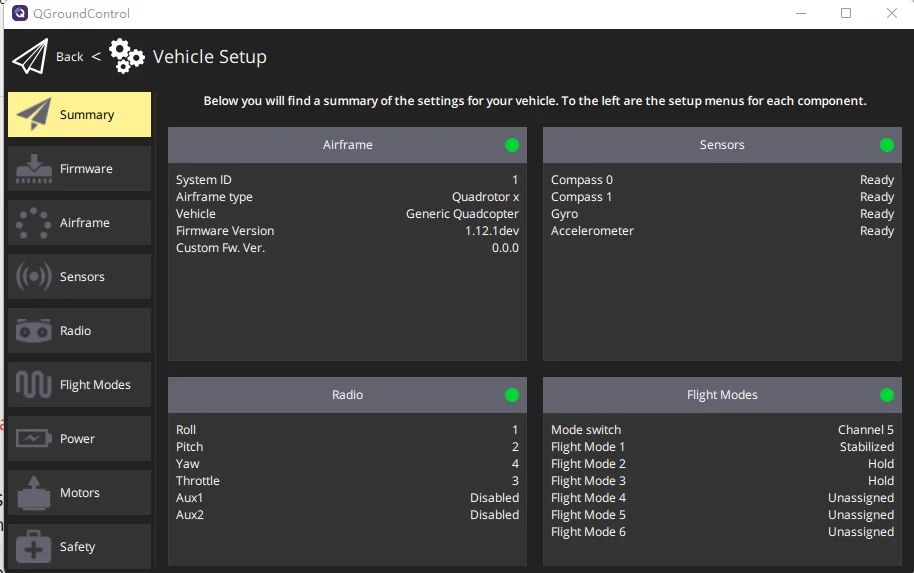
PilotPi only supports PX4 firmware, you should download the QgroundControl to use it, please download from here,http://qgroundcontrol.com/downloads/

Upload the image to TF card(at least 8G), the account is pi, password is 12345678.
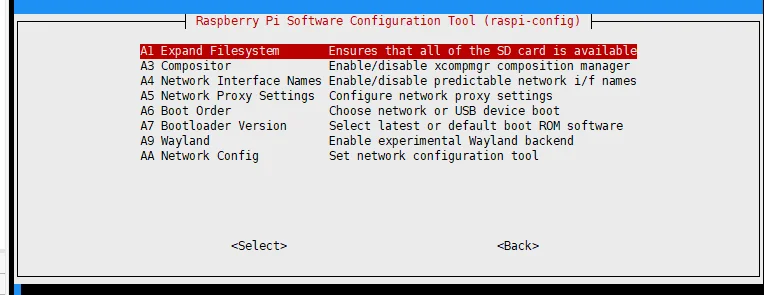
install raspi-config first. Using this command,
sudo apt-get install raspi-config
then run sudo raspi-config . Expand Filesystem.
Set your Raspiberry Pi to network,Connect to the router and share the same LAN as your computer.
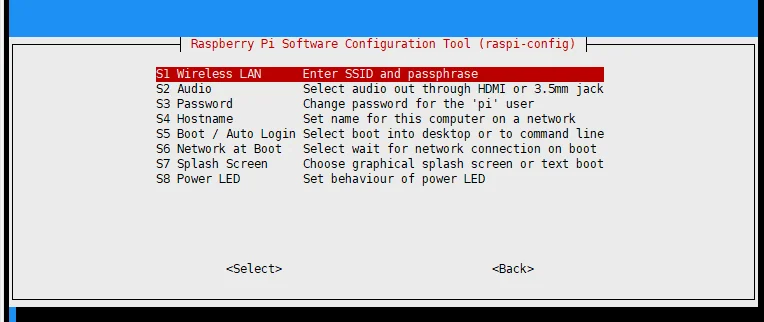
then reboot your Raspiberry Pi, you can connect PilotPi to QGC with UDP Now.
Note,Your raspberry pi must have wireless WiFi function, otherwise you will have to use Radio Telemetry to connect.
Done, Good Luck!