Installing Mission Planner (Windows)
The below instructions show how to install Mission Planner on Windows. These instructions will be suitable for most users. For advanced users and non-standard installations, instructions are found here:. A useful video guide for advanced installation of Mission Planner is located here.
- Download the latest Mission Planner installer from here
- Double click on the downloaded .msi file to run the installer
- Follow the instructions to complete the setup process. The installation utility will automatically install any necessary software drivers. If you receive a DirectX installation error, please update your DirectX plug-in from the Windows Download Center.
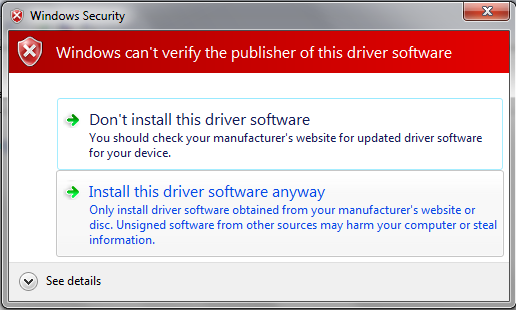
- If you receive the warning pictured below, select Install this driver software anyway to continue.
Mission Planner is normally installed in the C:\Program Files (x86)\Mission Planner folder.
An icon to open the Mission Planner is created according to your instructions during the installation.
Open Mission PlannerOnce installation is complete, open Mission Planner by clicking on its system icon.Then you can either:Connect Mission Planner to AutoPilot in order to receive telemetry and control the vehicle ORLoad Firmware
Updating Mission Planner
Mission Planner automatically notifies you about available updates (when it is connected to the Internet).
Please always run the most current version of Mission Planner.